Introduction to growing Hatch Chile Seeds
Growing your own delicious Hatch chile peppers from seeds is a rewarding experience, whether you're a seasoned gardener or a beginner. These flavorful peppers, originating from New Mexico's Hatch Valley, are beloved for their versatility in dishes like stews, salsas, and chile rellenos.
With the right care, you can cultivate a thriving crop of Hatch chiles in your garden, ranging from mild to fiery hot. You don't have to be in Hatch, NM to grow Hatch Chiles, though you technically can't call them officially "Hatch chile" unless you grow them in the region! Read more about this in our blog post: What is special about Hatch chile?
This guide will walk you through every step, from selecting the perfect seeds to harvesting your peppers.
Choosing the Right Hatch Chile Seeds
The first step to a successful harvest is selecting high-quality seeds. Hatch chiles come in various heat levels, from mild to extra hot, so consider your culinary preferences. For a balanced medium heat, Hatch Green Medium - Big Jim Chile Seeds are a top choice, offering authentic flavor and thick flesh. If you prefer a milder option, Hatch Green Mild - NM 6-4 Chile Seeds deliver a gentle heat perfect for family-friendly dishes.

For those who crave intense heat, Hatch Green Hot - Doublecross Chile Seeds combine the size of Big Jim with the spiciness of Sandia Hot. Did you know that over 70% of home gardeners prioritize flavor and heat level when selecting pepper seeds? This makes it essential to research varieties before planting.
Starting Seeds Indoors
Hatch chile seeds thrive when started indoors 8 weeks before the last frost. Use sterile seed-starting mix and plant seeds ¼ inch deep. Maintain a consistent temperature of 85°F with a heat mat to encourage germination, which typically takes 7–21 days. Keep the soil moist but not waterlogged to prevent damping-off disease.
Once seedlings develop 2–3 true leaves, transplant them into larger pots. Provide ample light – either a sunny windowsill or grow lights – to prevent leggy growth. A study by the University of New Mexico found that seedlings exposed to 14-16 hours of light daily grew 30% faster than those with less light.
Transplanting to the Garden
When nighttime temperatures stay above 55°F, it’s time to transplant. Harden off seedlings by gradually exposing them to outdoor conditions over a week. Space plants 30 inches apart in well-draining soil enriched with compost. For container gardening, use 5-gallon pots to accommodate root growth.

Consider companion planting with basil or marigolds to deter pests. A common question: Why are my chile plants stunted? Overcrowding or poor soil nutrition could be the culprit. Test your soil’s pH, Hatch chiles prefer a slightly acidic range of 6.0-6.8.
Watering and Fertilizing
Consistent moisture is key, especially during flowering and fruiting. Water deeply 2–3 times per week, allowing the top inch of soil to dry between sessions. Overwatering can lead to root rot, while under watering stresses plants and reduces yields.
| Growth Stage | Fertilizer Recommendation |
|---|---|
| Seedlings | Balanced 10-10-10 (diluted) |
| Flowering | High-phosphorus (5-10-5) |
Avoid high-nitrogen fertilizers, as they promote leafy growth over fruit production. Organic options like fish emulsion or compost tea work well for sustainable gardening.
Pest and Disease Management
Hatch chiles are relatively hardy but can face aphids, spider mites, or fungal diseases like powdery mildew. Attract beneficial insects by planting flowers like marigold, calendula, and zinnia.
For fungal issues, ensure proper airflow by spacing plants adequately. Did you know that 40% of pepper crop losses are due to improper watering practices? Drip irrigation minimizes leaf wetness, reducing disease risk.
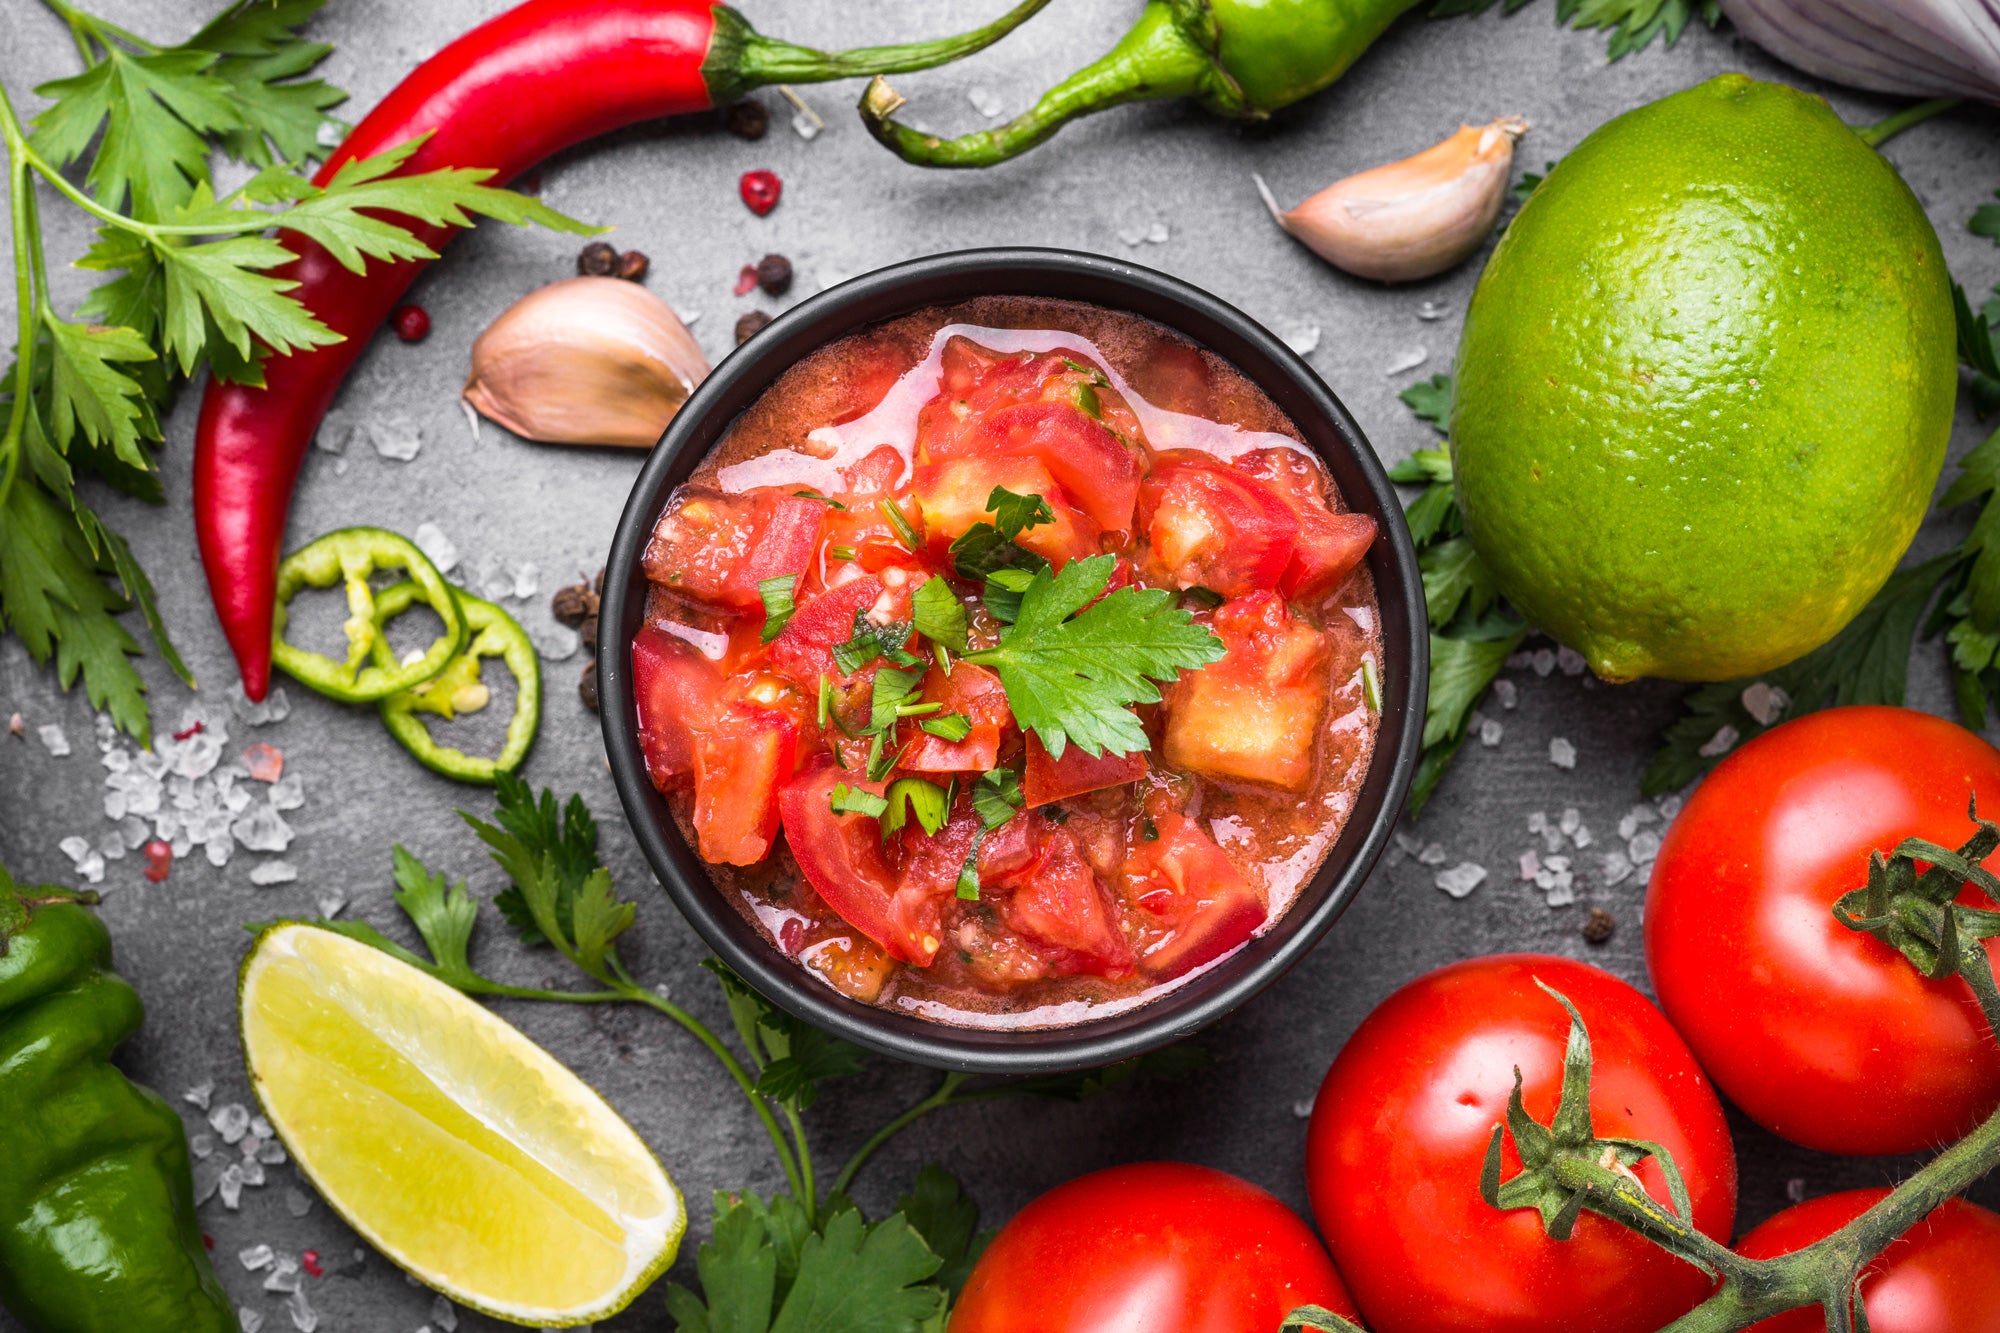
Harvesting Your Hatch Chiles
Most varieties mature in 70-85 days. Harvest green chiles when they reach full size (6-10 inches, depending on the type). For red chiles, leave them on the plant an additional 2-3 weeks. Use pruning shears to avoid damaging stems.

Fun fact: Red chiles are 20% higher in vitamin C than green ones! Store fresh chiles in the fridge for up to 2 weeks or freeze roasted peppers for year-round use.
Storing and Using Your Harvest
Roast, peel, and freeze Hatch chiles for long-term storage. Dried red chiles can be ground into powder for sauces or rubs. Try Hatch Red Medium - Joe E. Parker Chile Seeds for a dual harvest of green and red peppers.
Experiment with recipes: green chile stew, stuffed rellenos, or homemade hot sauce. One gardener reported yielding 50+ peppers per plant with optimal care!
Conclusion
Growing Hatch chiles from seeds is a fulfilling project that brings authentic Southwestern flavors to your table. By selecting the right variety, providing proper care, and troubleshooting common issues, you’ll enjoy a bountiful harvest. Whether you prefer mild Big Jim Legacy or fiery Doublecross, these peppers are a garden standout.
Frequently Asked Questions
-
How long do Hatch chile seeds take to germinate?
Seeds typically sprout in 7-21 days with 85°F soil and consistent moisture. Slow germination? Make sure the soil stays warm. -
Can I grow Hatch chiles in containers?
Yes! Use 5-gallon pots with drainage holes. Some varieties like NM 6-4 thrive in small spaces. -
Why are my chiles not turning red?
Patience is key, it takes extra weeks for the chile to turn red. Cold weather can delay ripening, consider covering plants if frost threatens.